Note: The front diff was done accordingly...


They installed the ARB assembly and bent the copper tube around the ring gear and out the hole in the diff housing.


| ARB Air Lockers | |
| The gear oil in the differencial
was drained and the diff cover was taken off. Note: The front diff was done accordingly... |
|
| Wheels had to be removed and brakes, etc. unbolted to allow both axles to be pulled to free the diff. |
|
| They spread the diff housing to be able to remove the diff. |
|
| The diff and the locker got measured to make sure the locker assebly would fit. They unbolted the ring gear and bolted it to the ARB locking diff. |
|
| They drilled a hole in the diff housing to allow for the air feed. Then they tapped the hole with a NPT pipe tap. |
|
|
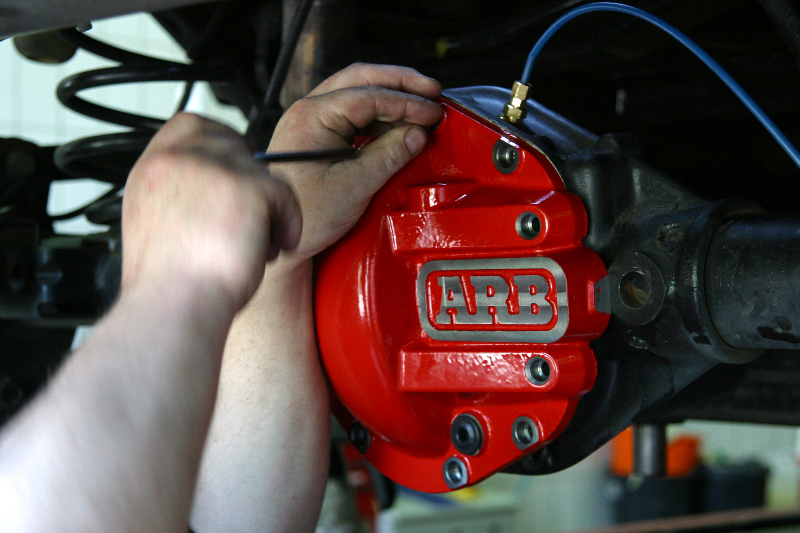
They installed the ARB assembly and bent the copper tube around the ring gear and out the hole in the diff housing. |
|
| The ARB diff cover was added and they checked the locker for preasure loss. The preasure remained at the exact level and the diff was filled with fluid. |
|
| They ran the ARB air hoses through a clear rubber tube for protection... |
|
| ... and the air hose was connected to the diff. |
 |
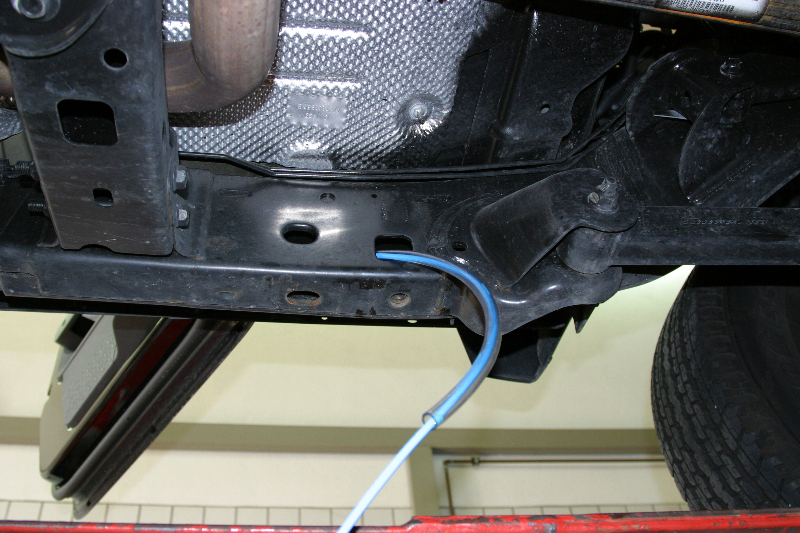
| They ran the air hose in the rubber tube from the rear diff into the frame close to the rear axle and pulled it out of the frame near the front upper control arm from where it would rise up into the engine compartment. |
 |
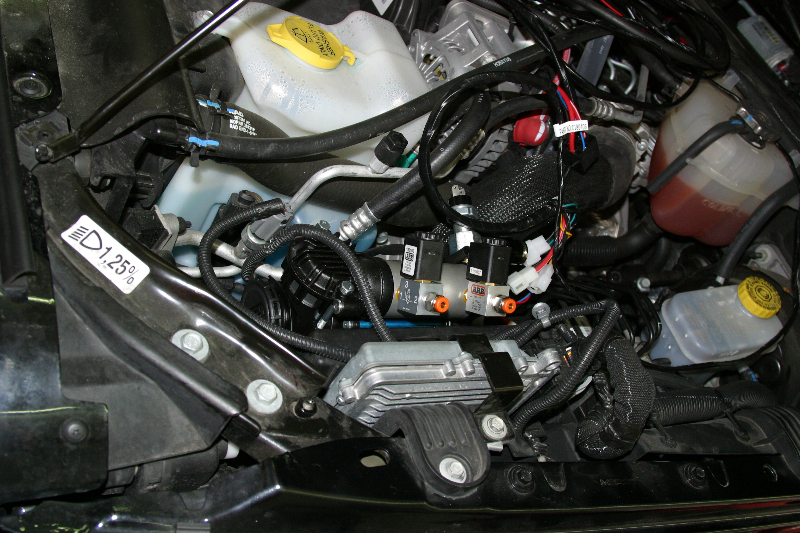
| The air compressor location was a bit of a challange, since the engine bay is pretty full. On the driver side near the grill is a thick plastic form which we used. We relocated a couple of wires and set the compressor on the horizontal area, screwing it to the vertical part. This should keep the compressor in a save, stable place even when vibrating. |
 |
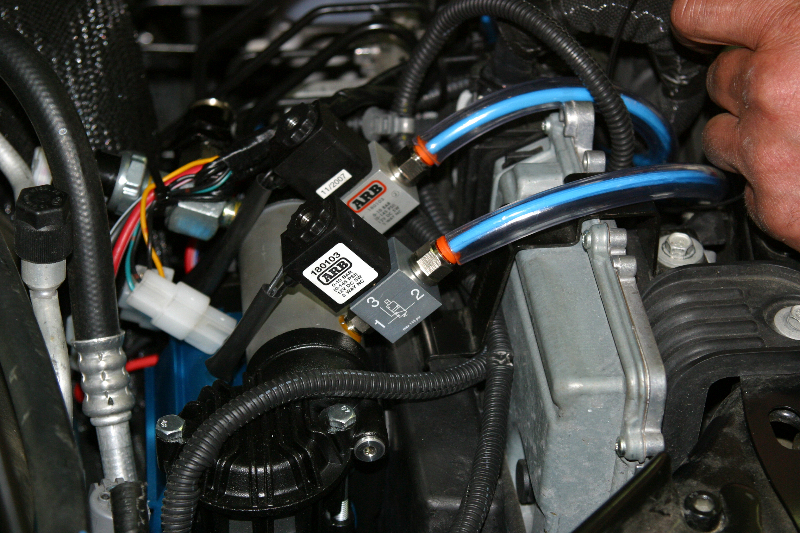
| They assembled the compressor with solinoids, air inflator, etc. |
 |
| Then the compressor was installed with the provided metal plate to sandwich the plastic it was fix to between this plate and the compressor. |
 |
| The wires were pulled through the fire wall. They had to drill a new hole which was sealed with a grommet and silicon. |
 |
| We pulled off the center dash cover. The wires were pulled through the bottom on the center console. The light for the switches was stolen from the power window switches. |
 |
|
The wires and air hoses were attached to the compressor and the entire system was checked. |
 |
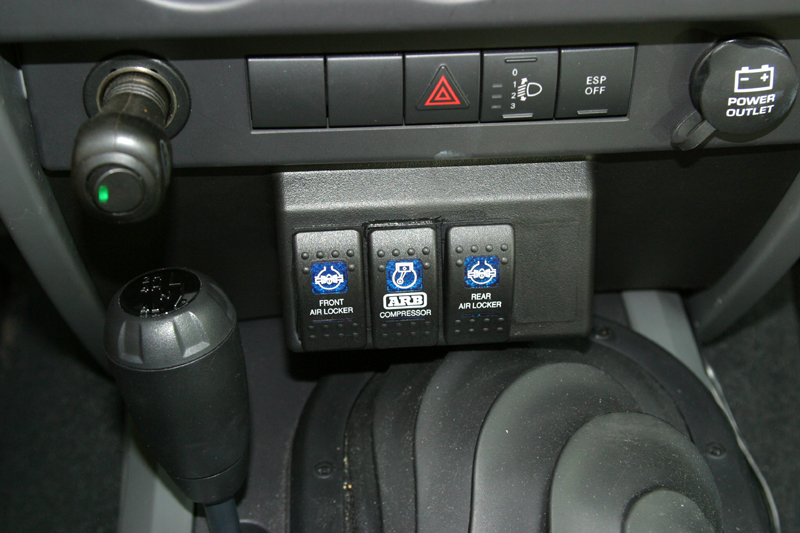
| We installed the Daystar switch panel because it seemed to be a clean way to handle the switch location. It does look nice but NOTE: on the automatic it works flawless, on the stick shift, the rubber boot will turn off the activated switches in first and third gear! (see gallery - last pic) |
 |