See install gallery for install pics
| Durango
4x4 Rear Bumper Install
See install gallery for install pics |
|
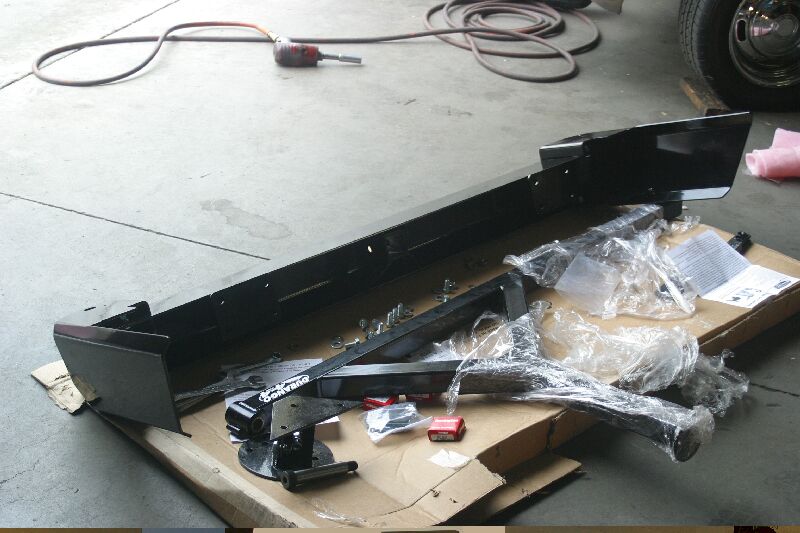
The installation of the bumper is
pretty straightforward. Obviously, you have to remove the stock bumper or whatever
your truck features on the tail end. The Durango 4x4 Bumper will mount right
into the stock location so the work is fairly easy (assuming that you have some
decent tools).
First you should preassemble the middle part of the bumper with the two corner
pieces. Make sure not to mount the corner pieces in an angle - once you have
the bumper installed, you don't want to take it all off again just to straighten
out the corners. It helps to use a jack or a second person to lift the bumper
into its location for easier bolt-on.
| Well, if the bumper is all you are going to install, then you are done. It's that easy. Should you also want to add a tire carrier, then you have just about half the work accomplished… | 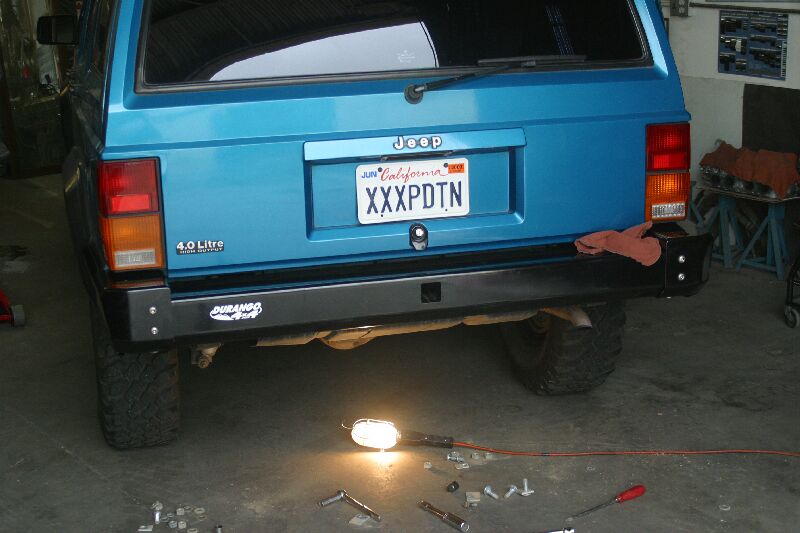 |
Whether you preassemble the tire
mounting plate onto the carrier arm or leave this work for later is completely
up to you.
Now it's time to insert the hinge hardware into the carrier arm.
In my case this was a bit of a challenge because the shipping company obviously
was not too concerned about the product and the edge of the hole (where the
hardware needs to be inserted) was banged up. After drilling the hole back into
shape the hinge hardware just slid in. The carrier arm was ready to be bolted
on. Again it helped to have somebody assist me in putting the arm in place and
tightening the huge bolt. On the opposite side (driver side) I had to mount
the closing angle and make sure the arm could easily slide in. After attaching
the closing hardware the carrier arm was functioning.
Don't forget to add that tire mounting plate. Ready. Now, you guessed it, you
can bolt on the spare tire and your rig looks way cooler than it did before
you started your work.